Homework #2
HW#2 3D Printing using Makerbot Replicator 5th Generation
I have been given an assignment to print a 3D model of a mini robot (can be downloaded) and a 3D model of my initials. The 3D model can be downloaded from the website: http://wiki.lofarolabs.com/.
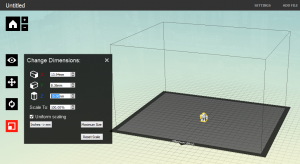
First of all, I downloaded the STL file of the mini robot: MAKE_Robot_Arms_Down_Supportless_V4.1.stl and I scaled the Z axis (height) into 1.5 cm (equivalent to 15 mm).
Pic 1. Scaling the mini robot
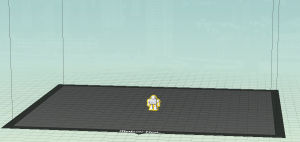
The scaling process of the mini robot is done. Now the robot is ready to printed using the Makerbot Gen 5 and has to be exported through the “Export Print File” menu on Makerbot Desktop. The .makerbot file is created and can be transferred to a USB Flash Drive, which is subsequently inserted into the 3D printer Makerbot Gen 5. The picture below is the final mini robot ready to be printed.
Pic 2. Mini robot is ready to be printed
Now, let’s start the printing process.
First thing is, insert the USB Flash drive to the 3D Printer. Make sure it can read the flash drive. It will automatically detect the .makerbot file. Subsequently, the printing starts.
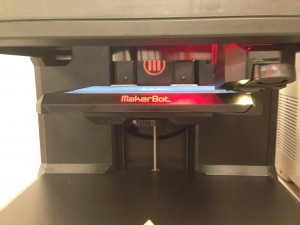
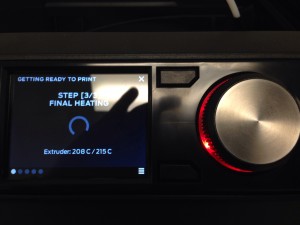
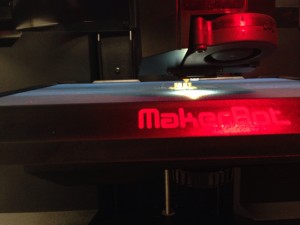
Before it can be used, the Makerbot Replicator 5th Generation needs to be well-prepared, with the process of heating and calibration. There are 3 steps of preparation:
1. Heating process (to 180 degress of Celcius)
2. Finding position (calibration)
3. Final heating (to 215 degress if Celcius)
Pic 3. Calibration process
Pic 4. Final heating
Afterwards, make sure the filament works well, and the 3D printing is about to start.
Here is the process of making the leg and arm parts of the mini robot:
Pic 5. Leg and arm parts of the robot printing process
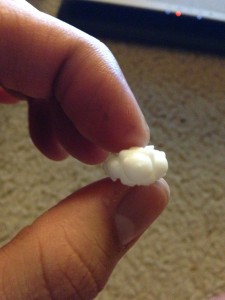
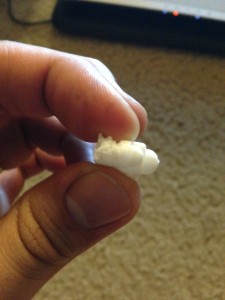
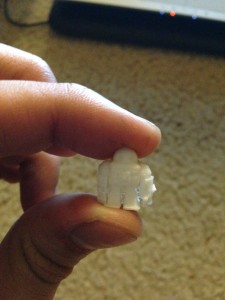
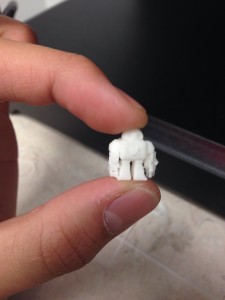
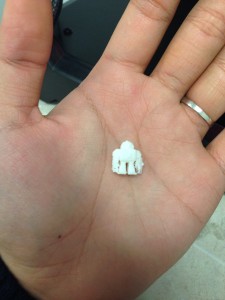
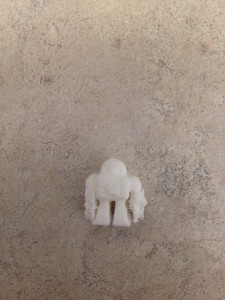
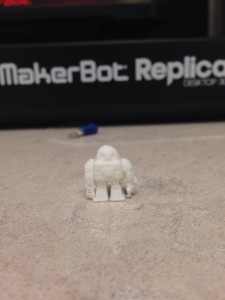
Here is the result of the printed robot.
As you can see, the arm part of the robot is somehow broken or not perfectly printed. It was because when the printing process was running, the printer said that the filament was jammed. I did not understand how to cut the filament in the proper way previously. Nonetheless, I found out how to cut the filament stick to be perfectly usable, and the printing process was running perfectly starting from the upper part of the arm and so forth. As conclusion, we need to understand how to put the filament perfectly in order to create the perfect result of a 3D model using Makerbot Gen 5. As for next time, I will always make sure to unload and load filament prior to using the Makerbot Replicator 5th Generation.
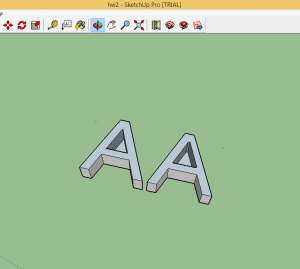
The next part is to print a 3D model of my initials. First, I designed my own initials using Sketchup 2015. The dimension is 13mm x 27.5mm x 5 mm.
Pic 6. Sketchup design
I exported the result into an STL file, and added it into the Makerbot Desktop. Here is the makerbot model which is ready to be printed.
Pic 7. Makerbot initials
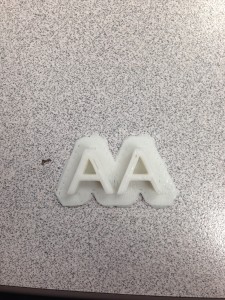
Same thing as previously explained, wait for the Makerbot Gen 5 to prepare itself, with the heating and calibration process. Afterwards, the printing starts, starting to create a base underneath the letters, so when we pull the results off, we won’t break it apart.
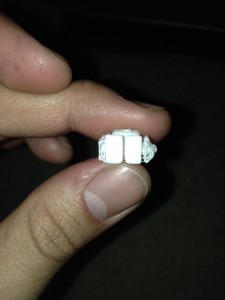
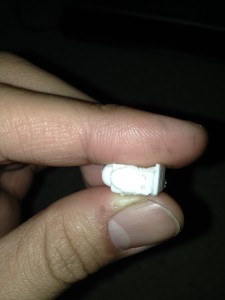
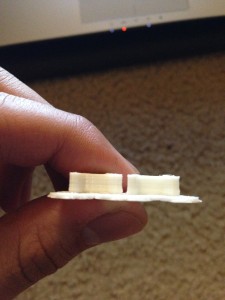
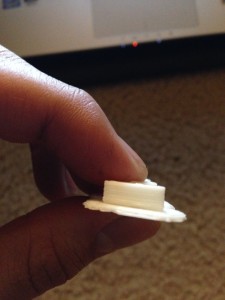
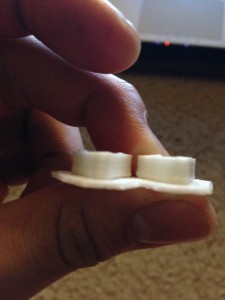
Here is the final result with the base still attached on.
The 3D printing is done! The homewok #2 has already finished, even though the result is not perfect enough to graded well. For the next 3D printing, I will be extra careful with the filament and the preparation.
Alfredo Any
February 5th, 2015
