Homework #4
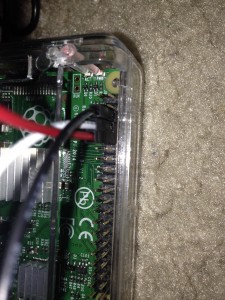
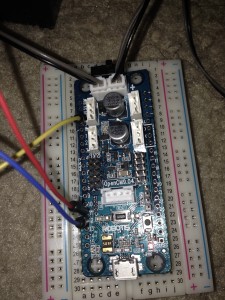
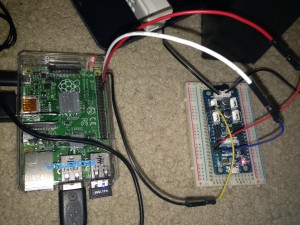
First, I connected the RX on Raspberry Pi with TX1 on OpenCM 9.04 and TX on Raspberry Pi with RX1 on OpenCM 9.04. I also connected the Ground on both of the SBC and microcontroller. Here is the result:
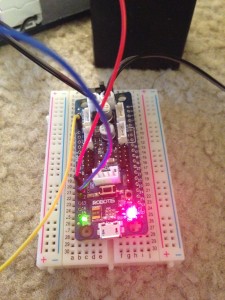
Now, I downloaded the algorithm to send the ASCII number 68 from OpenCM to Raspberry Pi. OpenCM’s green LED will blink if it gets the ASCII character from Raspberry Pi, which is D as the character from ASCII number 68. Here is the code:
| byte index = 0; |
| char inChar; // Where to store the character read |
| void setup() { |
| Serial1.begin(9600); |
| pinMode(BOARD_LED_PIN, OUTPUT); |
| } |
| void loop() |
| { |
| if(Serial1.available() > 0) |
| { |
| char inData[20]; |
| while(Serial1.available() > 0) |
| { |
| if(index < 19) |
| { |
| inChar = Serial1.read(); |
| inData[index] = inChar; |
| index++; |
| inData[index] = ‘‘; //Null terminate the string |
| } |
| } |
| index = 0; |
| Serial1.print(“ret: “); |
| Serial1.println(inData); |
| if(inData[0] == 68){ |
| for(int i=0; i<100; i++){ |
| toggleLED(); |
| delay(100); |
| } |
| } |
| } |
| delay(20); |
| } |
And here is the code on Raspberry Pi to receive the ASCII character from OpenCM 9.04:
| import serial |
| ser = serial.Serial(‘/dev/ttyAMA0‘, 9600) |
| ser.write(chr(68)) |
| print ser.readline() |
| #chr |
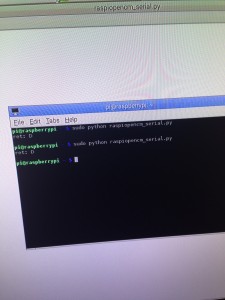
Here is the result of the code on Raspberry Pi. It gives the character ‘D’ with the printed characters ‘ret:’ received from OpenCM, and it makes the LED on OpenCM blinks:
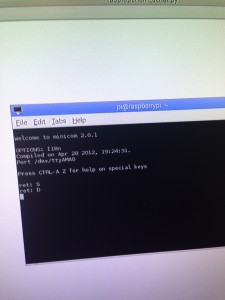
As a shortcut, I used the minicom on Raspberry Pi to get the result on serial communication from OpenCM 9.04. I do get the data ‘ret:’ with the following character I input with keyboard on Raspberry Pi. Every time I press D, it will make the LED on OpenCM blinks.
Here is the full video of my project of Homework #4:
